How to: Use the Livescribe Symphony Smartpen
When it comes to students who struggle with notetaking, we often recommend smart pens. The main advantage of this type of technology is that handwritten text is instantly converted into a digital format which can then be searched, shared, converted, and synced to other apps. These pens also often have a recording feature, which allows handwritten notes to be synced with recorded audio, thus giving smart pens users a seamless, multi-sensory approach to learning.
But Smart pens are not only useful for students who struggle with writing/notetaking. Anyone who takes notes for any reason, regardless of their learning style, could benefit from universally designed smart pen technology. That being said, Smart Pens are considered a high-tech assistive technology, and there is a bit more of a learning curve when using a smart pen compared to a more straight-forward note-taking app such as OneNote.
Today we are going to go over the steps required to use the Livescribe Symphony, the newest addition to the Livescribe line up. Many of these steps will be similar if not identical to the steps required to setup and use other Livescribe pens, so at the very least this guide should give a good idea as to what Livescribe Smartpens are generally capable of.
How to set it up
- First, fully charge your Smartpen.
- Download the free LiveScribe+ app for android, iOS, or PC.
- Open the app and pair your device using the device pairing button on your Smartpaper notepad.
- Follow the instructions provided through the Livescribe+ app to complete the pairing and registration process.
How to use it
- To turn on the pen, simply take off the pen cover.
- You’re now ready to begin writing. As you write in your Livescribe Smartpaper notebook, your notes will also appear in digital form through the app.
- To access your digital notes, open the app and select “Page” for a page-based view of your notes or “Feed” to see your notes broken down by entry date.
- To record as your write (Pencast), tap on the record symbol on your Smartpaper or from the Livescribe+ app.
- To play back your recording, tap on your smart paper notes and the Pencast will playback at the point in which the notes were written/recorded, or you can access your recordings by tapping on the menu symbol from the Livescribe+ app and selecting “Pencasts”.
- To search through your notes, open the app and tap on the search symbol to find specific words or phrases.
- To add pictures to your notes, tap on the settings button from the Livescribe+ app and select “Take Picture” or “Add Picture” to add an existing photo.
- To share, tap on your notes, and select the share button.
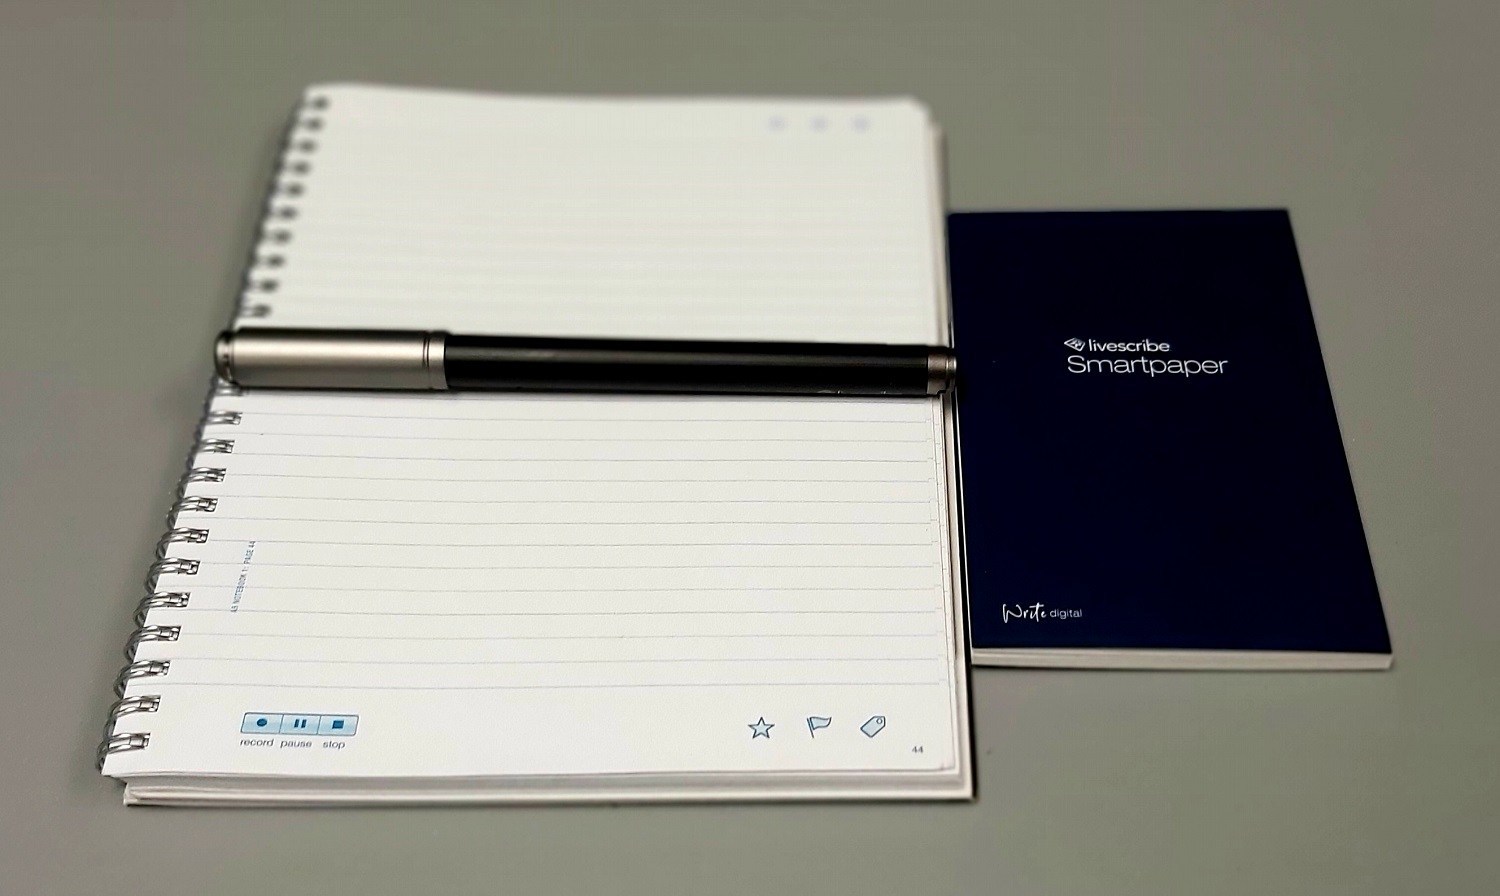
- Keep in mind the pen has no physical buttons, but instead it can be controlled by tapping the buttons on Livescribe’s Smartpaper notepads. A small, unlined pad with limited controls comes included with the purchase of the pen, but to really get the full use of the product, you’ll have to purchase the full-size notebooks separately.
To learn more about Livescribe Smartpens, click here. To see how this pen compares to other Livescribe pens such as the Echo Smartpen, click here.